Ok, I’m still making marshmallows. And they are still yummy.
And you are only limited by your imagination when it comes to these little
gems. Here are two of the latest.
These are delicious. They are all delicious, but these are
just wonderful. The malt gives the marshmallows a nice rich flavor, and dipping
the marshmallow in the bittersweet chocolate is inspired. And these would be
wonderful Valentine’s gifts for the chocolate lovers out there.
Chocolate Malt
Marshmallows
.75-oz unflavored gelatin (3 envelopes of Knox
gelatin)
½ cup cold water
2 cups granulated sugar
2/3 cup light corn syrup
¼ cup water
¼ c. unsweetened cocoa powder
½ c. malted milk powder
1/3 c. boiling water
¼ teaspoon salt
1 tablespoon vanilla extract (or other flavor
extract)
Confectioners’ sugar
Cocoa powder
Bittersweet chocolate
Line 9 x 9-inch or 8 x 8-inch pan (for thick
marshmallows) or a 9x13-inch (for thinner marshmallows) with plastic wrap and
lightly oil it using your fingers or non-stick cooking spray. Set aside.
In the bowl of an electric mixer, sprinkle
gelatin over 1/2 cup cold water. Soak for about 10 minutes.
Meanwhile, combine sugar, corn syrup and ¼ cup
water in a small saucepan. Bring the mixture to a rapid boil. As soon as
it is boiling, set the timer and allow to boil hard for 1 minute.
Whisk together the cocoa, malt powder and
boiling water in a small bowl until smooth.


When the sugar syrup is ready,
whisk the cocoa mixture into it.

Carefully pour the boiling syrup/cocoa mixture
into soaked gelatin and turn on the mixer, using the whisk attachment, starting
on low and moving up to high speed. Add the salt and beat for between 10 and 12
minutes, or until fluffy and mostly cooled to almost room temperature.


After it
reaches that stage, add in the extract and beat to incorporate.

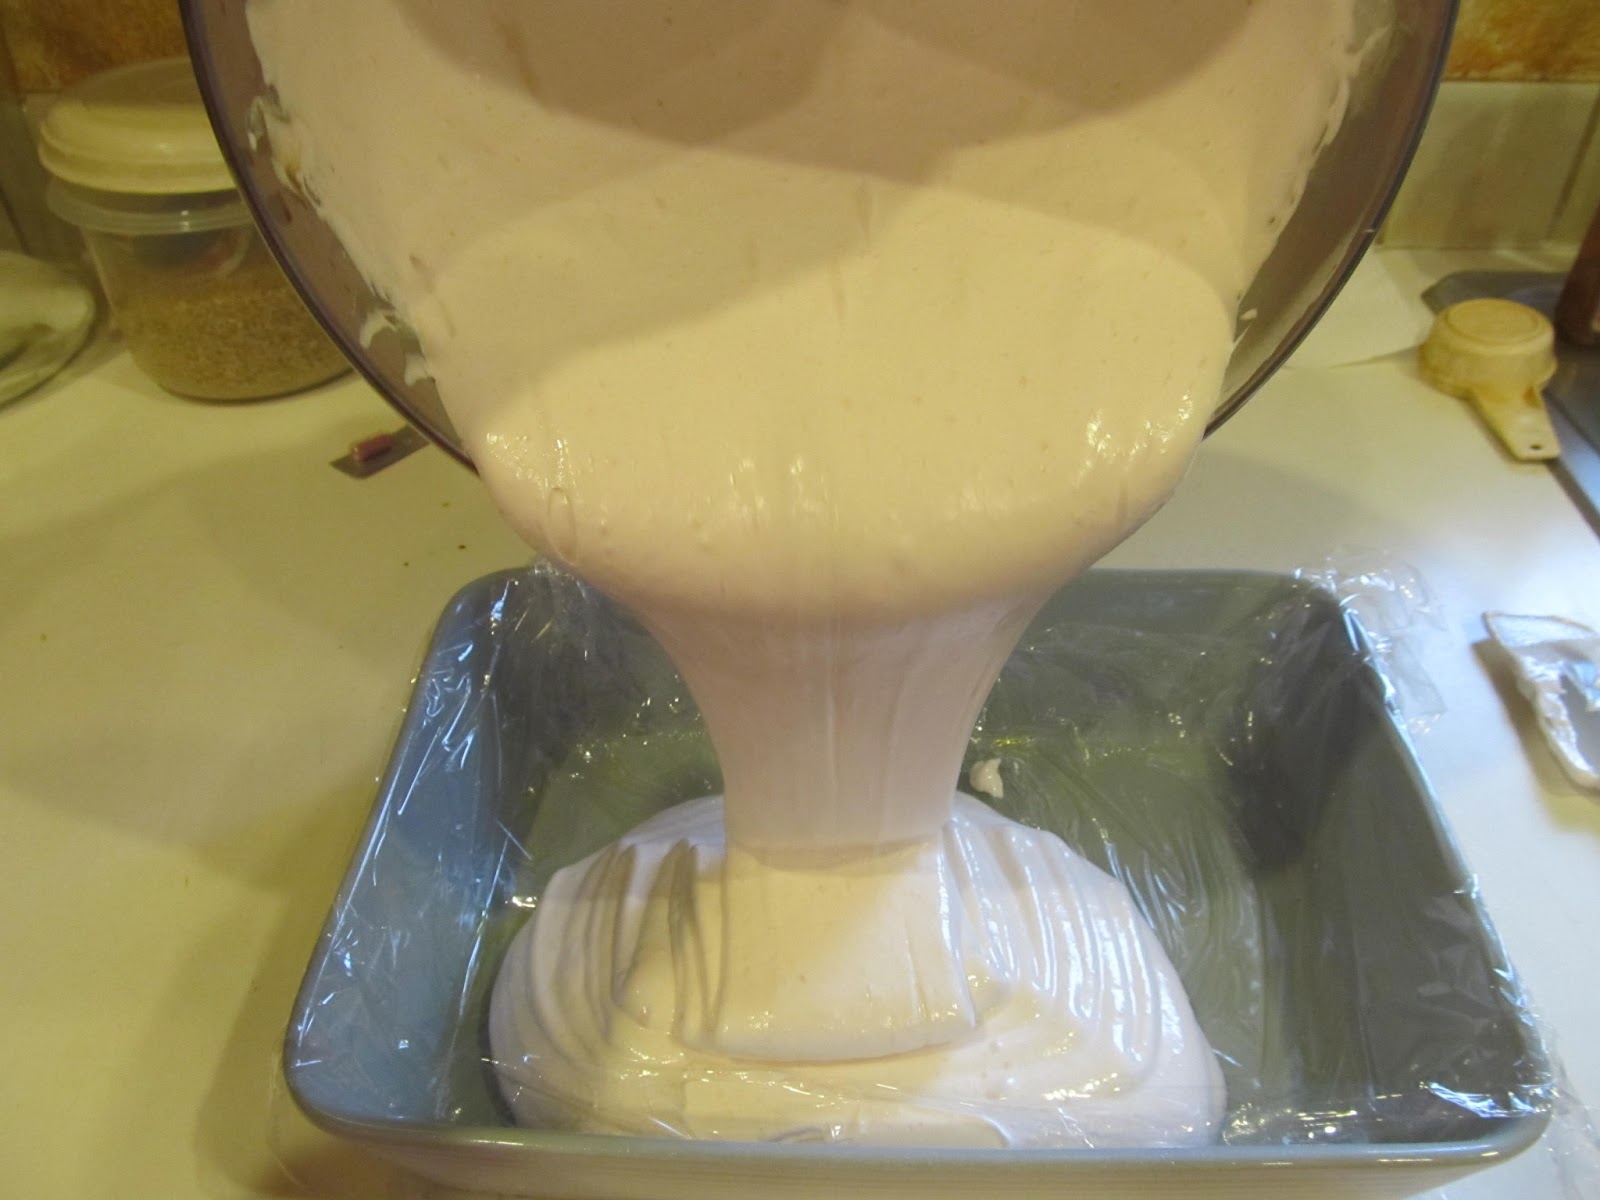
Grease your hands and a rubber or silicone scraper with neutral
oil and transfer marshmallow into the prepared pan.

Use your greased hands to
press the marshmallow into the pan evenly. Sift together ½ cup powdered sugar and 3 tablespoons of
cocoa powder and sift over the top of the marshmallow.

Let mixture sit in the refrigerator for a few
hours, or overnight, until cooled and firmly set.
Sprinkle a cutting surface very generously with some more cocoa powder and confectioner’s sugar. Remove marshmallow from pan and lay on top of the sugar/cocoa mixture. Dust the top generously with sugar/cocoa powder as well.

Use a large, sharp knife, or a pizza cutter, to
cut into squares. Or use a cookie cutter to cut into shapes. Dip the sticky
edges of the marshmallow in 2 ounces of
finely grated bittersweet chocolate shavings,

and dab more all over the
marshmallows.


Store in an airtight container in the refrigerator.

Every time I make a different flavor, I think it’s my
favorite. But these pumpkin pie ones might be my favorite. Either these or the
strawberry ones. Decisions, decisions. Oh wait, I guess it doesn’t have to be
either/or – it can be win/win if I have a different flavor every day. And I do.
Pumpkin Pie
Marshmallows
.75-oz unflavored gelatin (3 envelopes of Knox
gelatin)
½ cup cold water
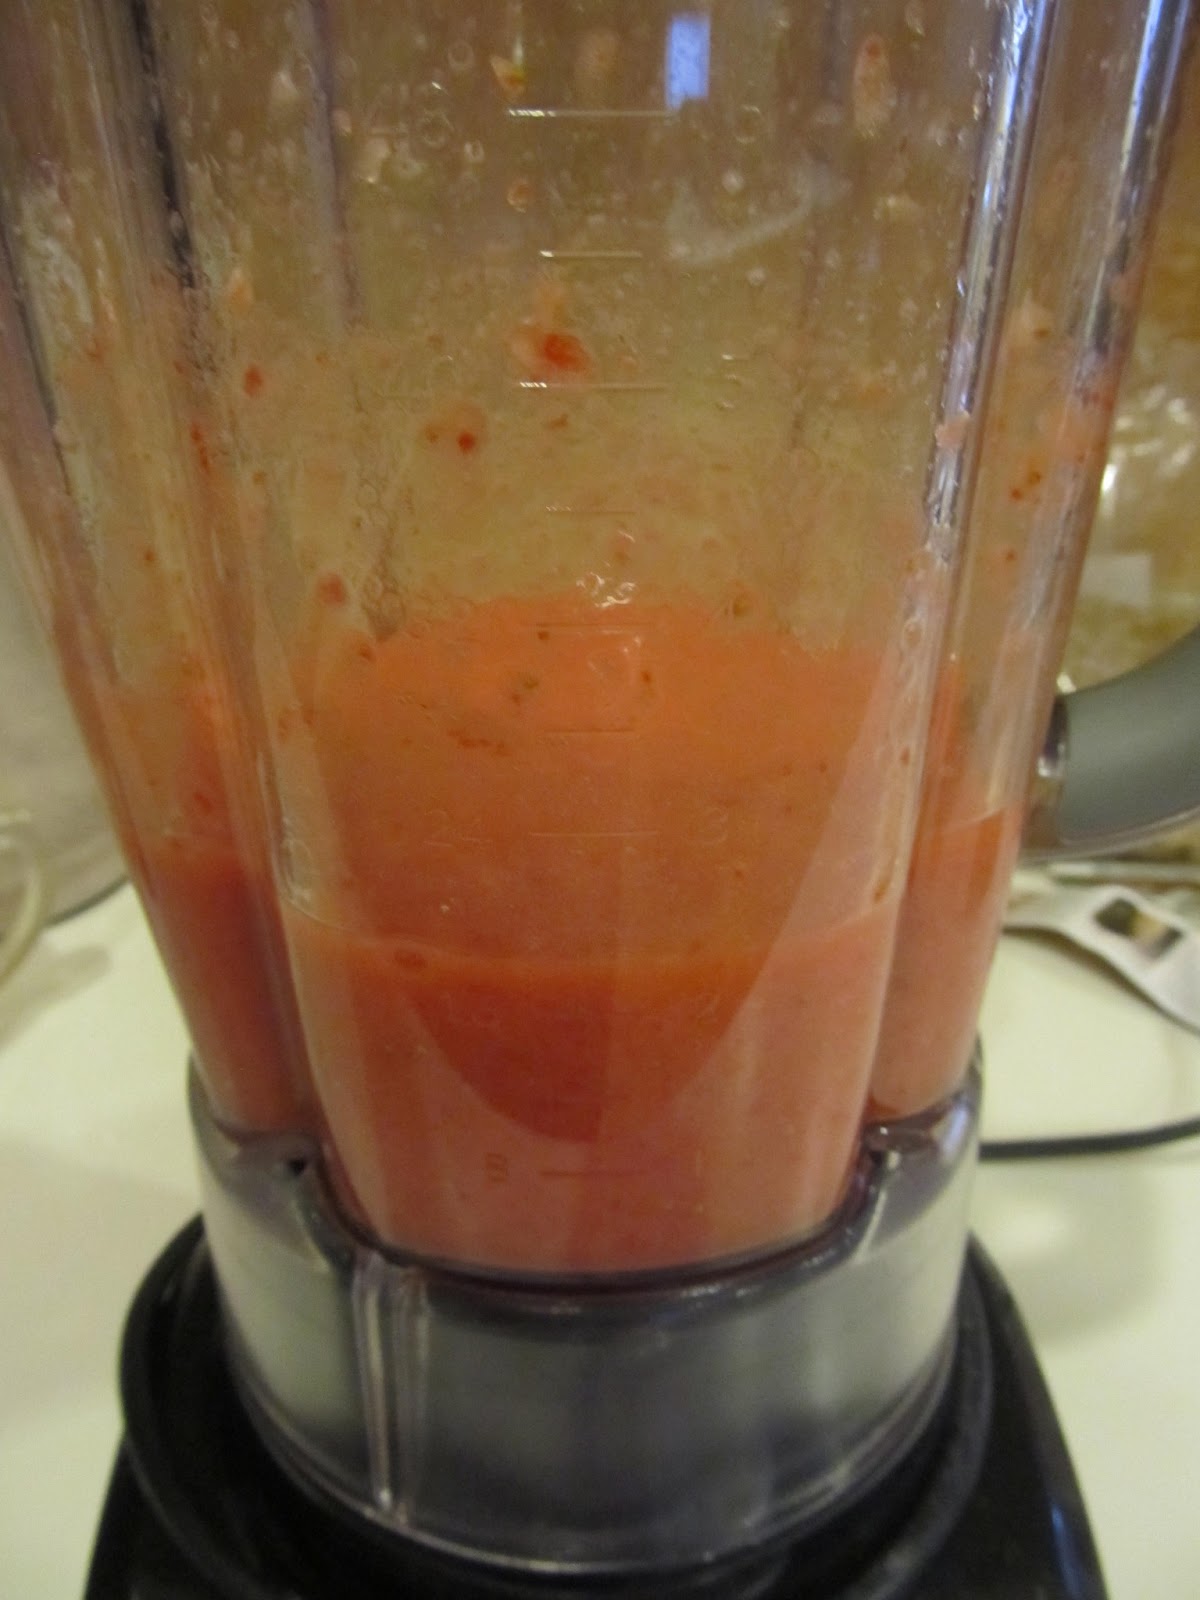
½ c. pureed pumpkin
3 tsp. pumpkin pie spice
2 cups granulated sugar
2/3 cup light corn syrup
¼ cup water
¼ teaspoon salt
1 tablespoon vanilla extract (or other flavor
extract)
Confectioners’ sugar
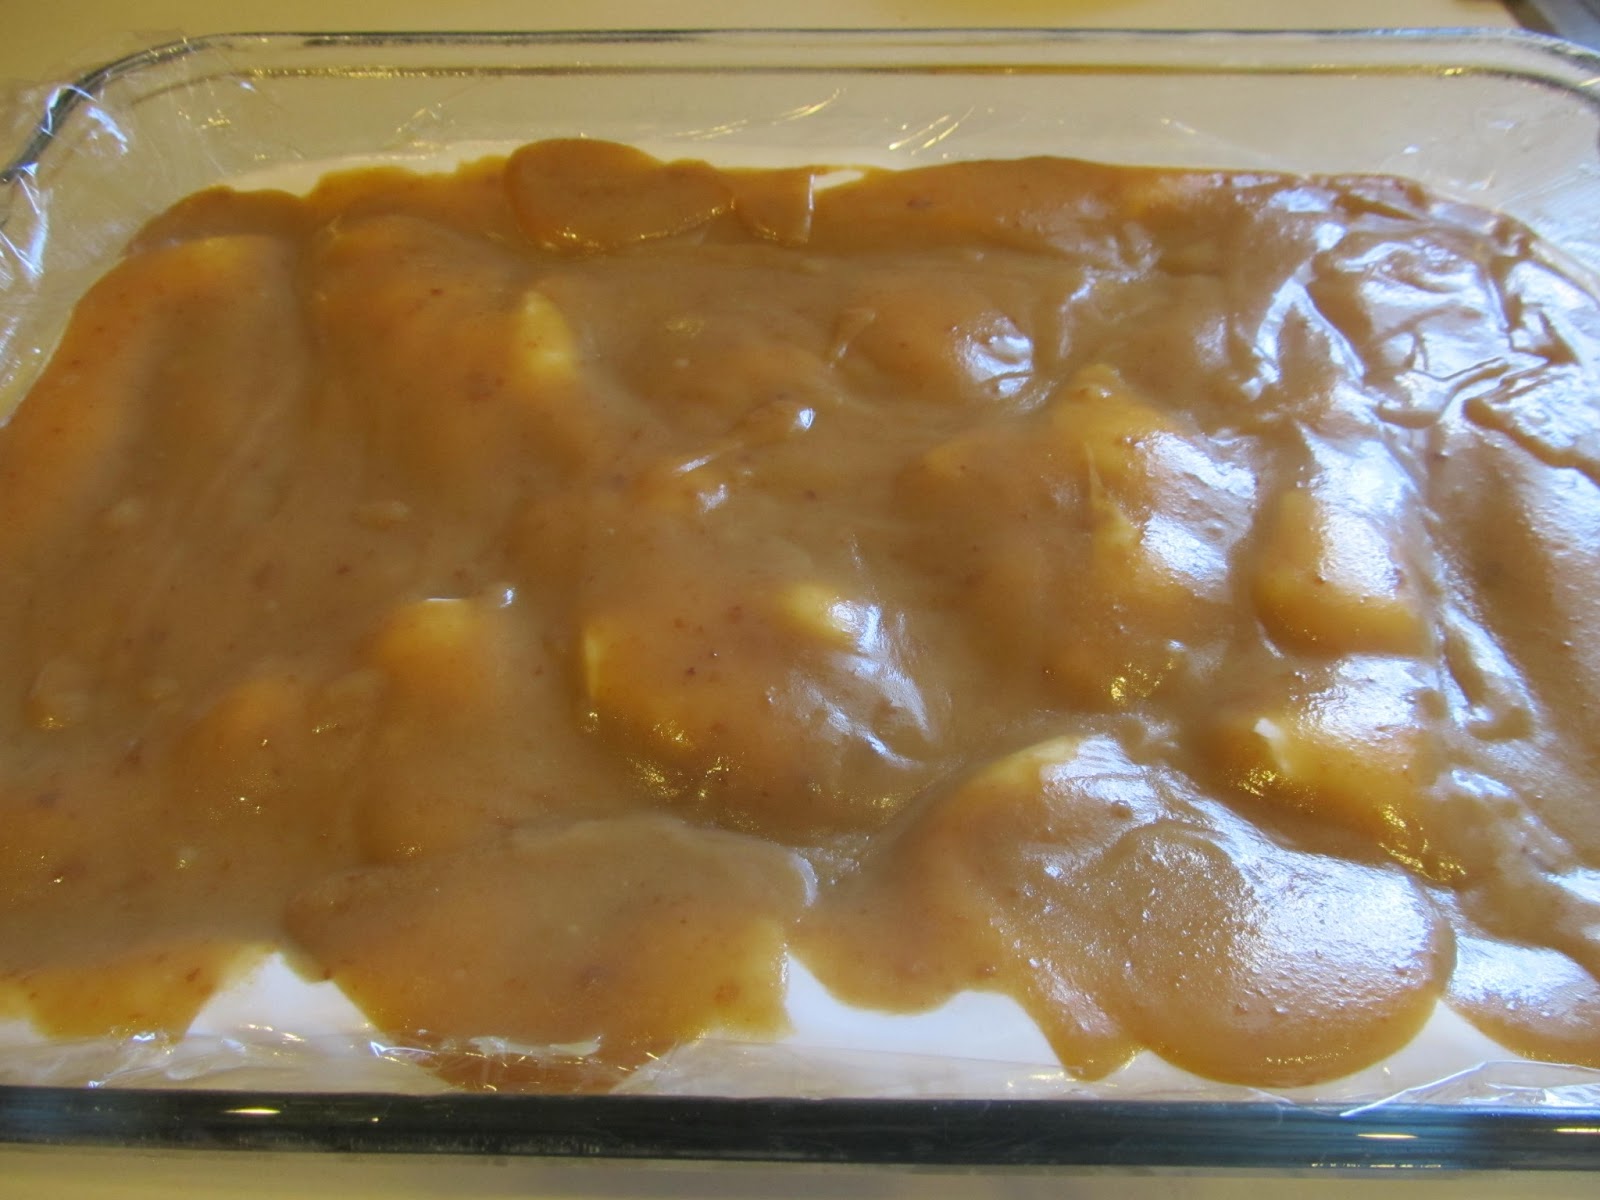
Make as for the previous marshmallows. Just add the pumpkin
and pumpkin pie spice to the gelatin and cold water before adding the syrup
water.


Then proceed as usual.

After you cut them, coat with confectioners’
sugar.
 |
| My new favorite way to cut marshmallows - pizza cutter! |
You can add some more pumpkin pie spice to the confectioners’ sugar if
you wish.
 |
| Yummy! |