Thursday, September 29, 2011

Chilies and peppers

 
Nominations for the greatest smells of fall: woodsmoke on a cool morning, aspen leaves, apple butter cooking in my kitchen, and finally (perhaps most importantly) chilies roasting. We love chilies at our house. Walt says he remembers the first time he ever ate anything with chilies in it – a taco sometime around 1962. It was not, to hear him tell it, love at first bite. His eyes watered and his nose ran and he thought he was being killed from the inside out. But all that changed as the years went by, and my husband became a big fan of every kind of chile under the sun.

That’s a lot of different chilies. There are Mexican chilies, Thai chilies, Hungarian chilies, chilies from the world over. We like them all.

I start the plants in March in the sunroom. Chilies take a long time to grow, so it’s best to start them early or buy plants already started. We plant lots of different varieties – jalapeño, Serrano, green peppers, purple peppers (they taste like green peppers; they’re just prettier), Hungarian, ancho, and any others that look interesting in the seed catalog.


I plant them on the south side of the house where they will get lots of sun and heat. Once they are planted, there isn’t a lot to do except keep them well watered and keep the weeds down. I also mulch them with grass clippings.

The nights are getting cool lately, so the other day it was time to pick the end of the chilies and make the last batch of salsa. When I do this, I pull up the chili plant, cut off all the chilies, and throw the plant in the burn pile. They don’t compost well.


After picking the chilies, I roasted them on the grill. By the time I’d peeled all the tomatoes, and cut up all the onions, the chilies were cool enough to get the seeds out. Remember, don’t scrap off the roasted parts, just cut off the stem end and pull out the seeds after roasting.


Summer is done and fall is upon us. I love fall, but I will miss fresh chilies until next summer. I can enjoy them, though, every time I open a bottle of salsa. See the salsa blog for any recipes.


Wednesday, September 28, 2011

Jelly


I love making jam or jelly. I love all the flavors and varieties. I love how the jars look on the shelves in the basement. I love being able to give someone a jar of jelly and a loaf of bread. I love all the antioxidants and vitamins in homemade jam or jelly. I love, a lot, eating a piece of toast with homemade jelly.
 
This year, we had lots of grapes and lots of chokecherries. I picked the fruit, cooked it down, and got the juice in the freezer a few weeks ago.


Yesterday, then, was Jelly Day.

Here are the basics of jelly making:

Wash the jars in the dishwasher or, if you don’t have a dishwasher, bring boiling-water canner, half full with water, to simmer. Wash jars and screw bands in hot soapy water; rinse with warm water. Put the jars in the boiling water till ready to use. Pour boiling water over lids in saucepan off the heat. Let stand in hot water until ready to use. Drain jars well before filling. You can sterilize your ladle and canning funnel at this time, too.

If you are doing lots of jars and you want to keep some sterile, put some newspaper on your counter (newsprint is sterile unless you’ve used it for something else that day). Turn the jars upside down on the newspaper and they’ll stay clean until you need them.

Remove and discard large stems or leaves from fruit; place in large kettle. Add enough water to nearly cover. Cook on medium heat until juice starts to flow, stirring occasionally. Reduce heat to low, cover and simmer 15 minutes, mash fruit occasionally with potato masher.

Place 3 layers of damp cheesecloth or jelly bag in large bowl.


I put the bowl in the sink. This can be a messy job, so it’s best to catch the splashes in or near your sink.


Strain through several layers of cheesecloth first. Pour prepared fruit into cheesecloth. Tie cheesecloth closed; hang and let drip into bowl until dripping stops. Or place the cheesecloth in a colander over a bowl and pour the juice over the cheesecloth. Press gently.


Then, because I like a clear jelly, I strain again through a clean white flour sack dishtowel. I usually buy a couple at the beginning of jelly season.


This is the residue:


And you get:


Measure the prepared juice into 6- or 8-qt. saucepot. (If necessary, add up to 1/2 cup water for exact measure.) Stir in lemon juice.


Make sure this is a big deep saucepot so it doesn’t boil over during the cooking process.


When you make jelly, you are basically making a very soft candy. Measure the sugar, exactly, and have it ready in another bowl. To get exact level cup measures of sugar, spoon sugar into dry metal or plastic measuring cup, then level by scraping excess sugar from top of cup with a straight-edged knife.


Stir pectin into juice in saucepot. Add lemon juice if the recipe calls for it. Add butter if you wish to reduce foaming (I’ve never used butter, but who knows – maybe it works!). Bring mixture to full rolling boil (a boil that doesn't stop bubbling when stirred) on high heat, stirring constantly.


Stir in sugar (and stir and stir so you don't have sugar lumps). Return to full rolling boil and boil exactly 1 minute, stirring constantly.

Can you see how it's rolling?


Remove from heat.

Skim off any foam with metal spoon. This can be a quick process or takes some patience depending on the fruit you use. For example, the chokecherries have more foam than the grapes.

 Skimmings:


Ladle immediately into prepared jars, filling to within 1/8 inch of tops. Wipe jar rims and threads with a clean cloth. Cover with two-piece lids. Screw bands tightly. Place jars on elevated rack in canner. Lower rack into canner. (Water must cover jars by 1 to 2 inches. Add boiling water, if necessary.) Cover; bring water to gentle boil. Process 10 minutes (unless you live at sea level – then it’s 5 minutes). Remove jars and place upright on towel to cool completely. After jars cool, check seals by pressing middles of lids with finger. (If lids spring back, lids are not sealed and refrigeration is necessary.)

This was halfway through the day. Note the disorganization.

Write on the lids with a permanent marker. Jelly jar companies always put those cute little labels in the box of jars. You put them on the jar one year, and then they are on the jar in perpetuity. You can wash the jars in the dishwasher till the end of time and the labels will never come off. So I write on the lids. They get thrown away when you are done with the jar of jelly, and your jar is all ready for the next year. You can dress up the jar with some fabric and a ribbon if you want to make it pretty.


 So, now that you have the basics down, we can make some jelly! 

CHOKECHERRY JELLY
3 c. chokecherry juice
½ c. lemon juice
1 pkg. pectin
½ tsp. butter - optional
4 ½ c. sugar              
In a large kettle, combine juice and lemon juice. Add pectin, stir, and bring to full boil (this is another  WONDERFUL smell of early fall – cooking chokecherry juice). Add sugar (sounds easy – but stir and stir when you add it because if your sugar clumps, you’ll get lumps in the jelly), bring to full boil and boil hard 1 minute. Remove from heat, skim, ladle into sterile jars. Process.  About 7 half pints. 

GRAPE JELLY
5 c. grape juice
¼ c. lemon juice
1 pkg. pectin
½ tsp. butter - optional
7 c. sugar 
In a large kettle, combine juice and lemon juice in a large pot. Add pectin, stir, and bring to full boil. Add sugar (see note above), bring to full boil and boil hard 1 minute. Remove from heat, skim, ladle into sterile jars. Process.  About 8 half pints. 

Let’s say you don’t have access to grapes or chokecherries or what-have-you. And you still want to make jelly. Just buy some apple cider or juice and you can make fabulous jelly without all the mashing and cheesecloth. These are both really good. 

SPICED CIDER JELLY
4 c. apple cider or juice    
1 pkg. pectin         
6 ½ c. sugar
1 tsp. cinnamon
1/4 tsp. nutmeg
1/8 tsp. cloves                                                                                                           
In large kettle, combine juice and pectin. Bring to full boil. Mix sugar and spices together thoroughly. Add to boiling juice, stir well. Bring to full boil and boil hard 1 minute. Remove from heat, skim, ladle into sterile jars. Process. 7 half pints. 

APPLE CINNAMON JELLY
4 c. apple juice       
1 pkg. pectin
4 ½ c. sugar
2 tbs. cinnamon red hots
In large kettle, combine juice and pectin. Bring to full boil, add sugar and red hots. Bring to full boil and boil hard 1 minute. Remove from heat, skim, ladle into sterile jars. Process. 7 half pints.

Jelly should sort of hold its shape, but not be too stiff.

When I got done making 3 batches of chokecherry jelly, and 2 batches of grape jelly, and 1 batch of chokecherry/grape jelly, I was tired. Seriously. But I still had some juice left over, so I combined the chokecherry and grape juice and made syrup. And it’s good! 

CHOKECHERRY SYRUP
4 c. chokecherry juice (or a combination of juices)
½ c. corn syrup
½ c. lemon juice
½ package of pectin
6 c. sugar
In large kettle, combine juice, corn syrup and pectin. Bring to full boil, add sugar. Bring to full boil and boil hard 2 minutes. Remove from heat, skim, ladle into sterile jars. Process for 10 minutes in boiling water bath. About 4 pints.

We’ll talk later about the pancakes that go under this syrup, but this is seriously good syrup. And your friends will be absolutely thrilled when you give them a jar of jelly, for Christmas, or whenever. Enjoy!


Tuesday, September 27, 2011

Grapes


If someone had told me, twenty-some years ago, that I could plant, grow and harvest grapes in Cheyenne, I would have doubted anything else that person ever told me. However, the climate has changed here and we found a hardy variety that not only grows, but thrives!

We got the plants from Wyoming Plant Company (see side bar) and they stock plants hardy to the high plains.
 
First, we built a trellis over our garden gate.


We planted a grape plant on either side of the trellis. The first two years, as with any perennial, were slow, but then the grape plants took off.

It is one of the more exciting bits in the garden to see the little grape clusters get larger each week. They start off green and tiny, then get bigger as the summer goes on. By late August, I go out and stand under the grape arbor and pretend I’m in Tuscany. It almost works.


Grapes are ready to harvest around the first part of September. The picture above was taken about mid- August, so you can see they aren't quite ready. These aren’t sweet eating grapes – they are for juice or jelly. When I harvest them, I cut off each cluster with a pair of pruning shears. I got about 16 pounds of the little jewels this year.


I dump them in the sink, wash them, then put them in a large kettle. I add enough water to almost cover them and bring the water to a boil. I simmer everything until the grapes lose their color and are very soft. I keep mashing them with a potato masher every so often during the cooking.


Remove from heat and put them in a colander. I mash the pulp through the colander, then strain through a finer sieve. At this point, you can pour the juice in a freezer Ziploc bag and freeze it for when you have time to make juice or jelly, or you can make jelly that day. I’ll do a jelly blog later.


In March or early April, grape vines need pruned. These are aggressive plants, so you can prune back the old growth. Don’t prune the newer growth because that’s where the new grapes will grow. I do, however, prune off the ends of the vines – they have decided to grow up into the green ash that is close to the fence and it just looks odd to have a grape vine in a tree.

We love our grape arbor so much, that we built a new one. In March, I’ll get some cuttings off the old grape plants and get another arbor started. In a few years, I can pretend I’m in Tuscany in two places in the yard!

Sunday, September 25, 2011

Pears


There are a few foods that shout fall and pears are one of them. We get them from Utah, and we’re just as partisan about them as we are about our peaches. Again, I don’t know why Utah pears are so perfect. They just are.

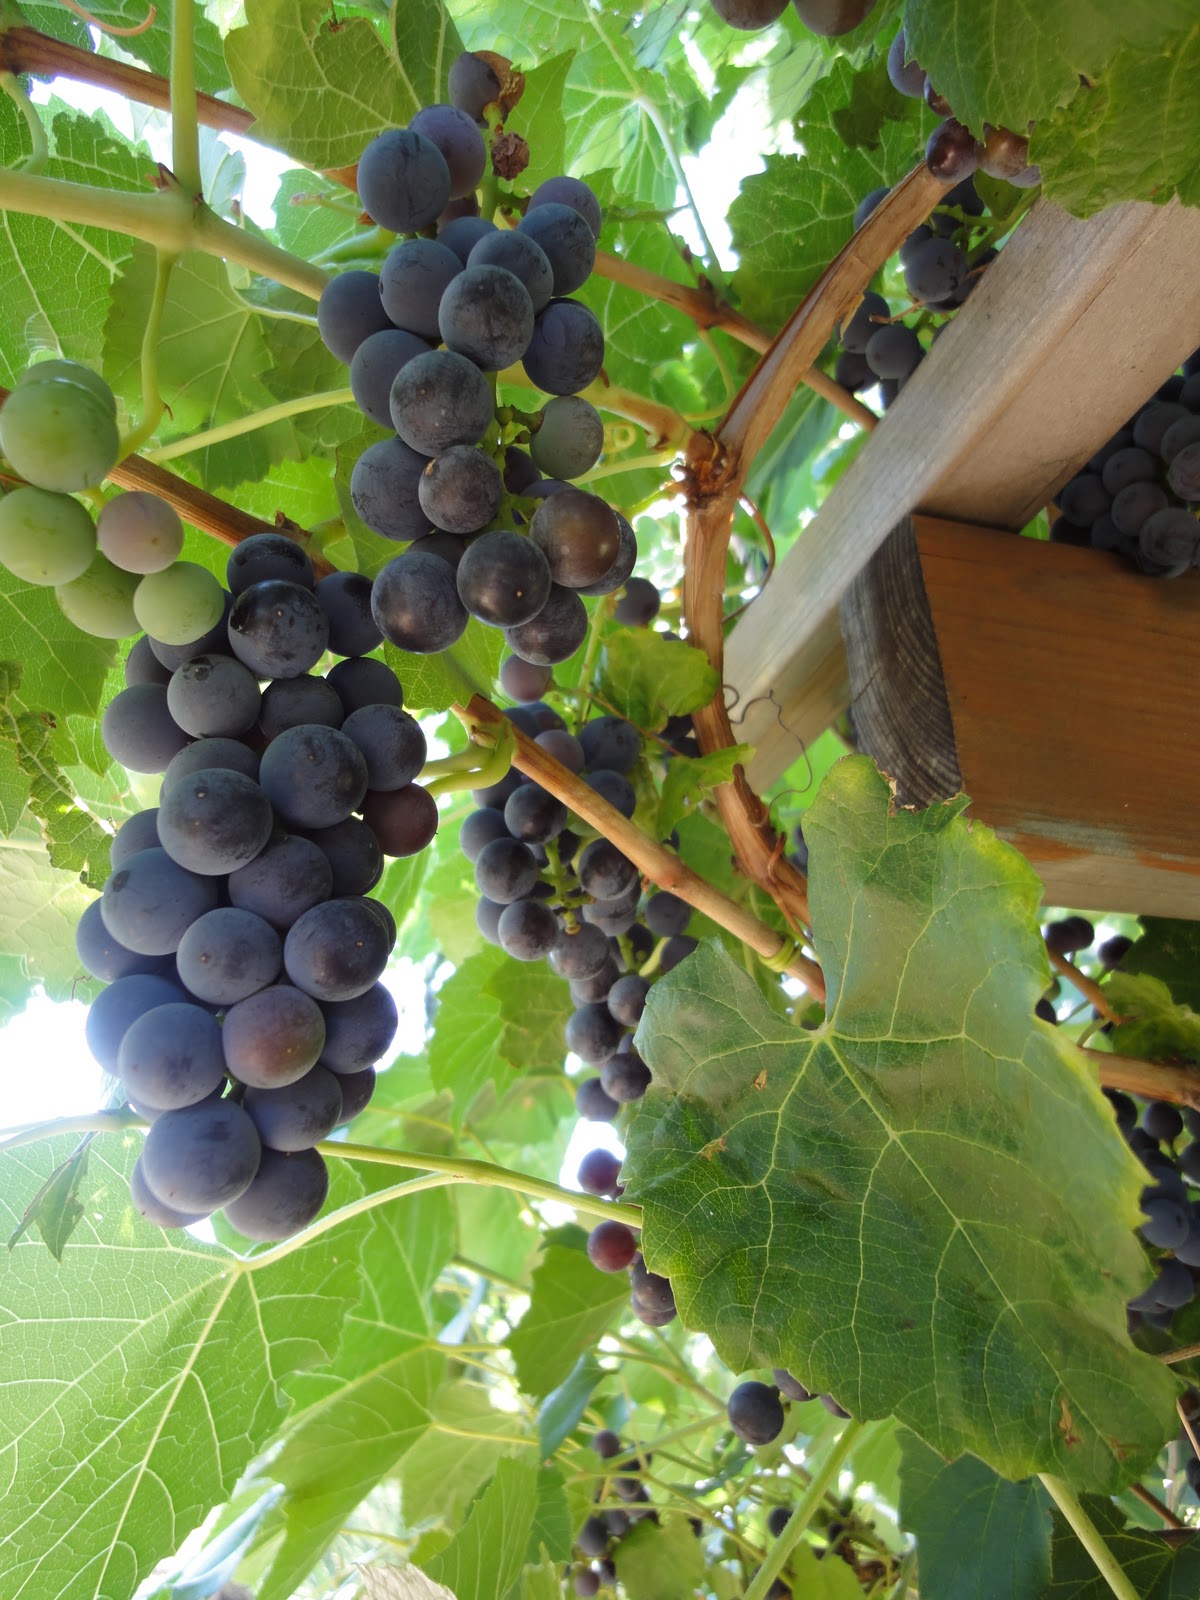
We bought two pear trees this year, and we’re going to do our best to raise them here in Cheyenne. I’m cautiously optimistic. If someone twenty years ago that I would be growing grapes here, I would have laughed. We did a lot of research on pears, and we think we can do it. I found that I didn’t know a lot about pears. For example, I learned that pears are unique in that they are best when picked unripe and then allowed to ripen off the tree. Choose hard pears and leave them on a counter to ripen. There are red pears, Bartlett pears, Bosc pears, D’Anjou; and all are lovely and tasty.

Like peaches, there are a variety of things you can do with pears. Eat them fresh – slice them and serve with a nice sharp cheese. Or eat them like an apple – down to the core.

I wanted to try poached pears this year, but most of the recipes I saw used wine or some kind of liquor. Since I don’t drink, I had to come up with my own creation:


POACHED PEARS
Ripe pears
Honey
Cinnamon
Lemon

Peel the pears. Put them in a pan and drizzle with the juice from the lemon. Then drizzle them with honey – a couple of tablespoons each – and sprinkle with cinnamon.


Now cook them over medium-low heat, basting occasionally with the honey/lemon sauce. When they look soft and are glazed with the sauce, they are done. Fabulous!


A great breakfast or brunch item are these:

Pear and granola muffins (Martha Stewart)
1 c. flour
¾ c. whole wheat flour
2 tsp. baking powder
½ tsp. salt
½ tsp. cinnamon
2 eggs
¾ c. packed brown sugar
½ c. plain low fat yogurt
2 tbs. unsalted butter, melted
2 D’Anjou (or whatever you have on hand) pears (2 c.), peeled and cut into ¼” dice
¾ c. plain granola 

Preheat oven to 400 degrees. Line a 12-cup standard muffin tin with paper liners; set aside. In a large bowl, whisk together flours, baking powder, salt, and cinnamon.

In a separate bowl, whisk together eggs, brown sugar, yogurt, and butter. Make a well in the center of flour mixture. Add egg mixture to well, and mix in flour mixture until just combined. Gently fold in the granola and pears.

Top with:
(or use an additional 3/4 cup plain granola)
½ cup granola
¼ cup all-purpose flour
¼ cup packed light-brown sugar
¼ teaspoon salt
3 tablespoons chilled unsalted butter 

In a bowl, toss together 1/2 cup granola, 1/4 cup each all-purpose flour and packed light-brown sugar, and 1/4 teaspoon salt. Cut 3 tablespoons chilled unsalted butter into pieces; add to granola mixture, and rub in with fingertips until clumps form.

Divide batter evenly among lined cups, filling each 3/4 full. Sprinkle with granola topping. Bake until a toothpick inserted in the center of a muffin comes out clean, about 20 minutes. Cool 5 minutes before removing from tin. Serve warm or at room temperature.


Then, pears make wonderful desserts. One of our favorites is: 

SPICY AUTUMN CRISP
TOPPING:
9 gingersnap cookies  
1/3 c. sugar      
1/3 c. packed brown sugar
2 tbs. flour
1/3 c. butter 

Place cookies in food processor; pulse till coarse crumbs form. Combine cookie crumbs, sugars and flour, cut in butter.  

FILLING:
3 ½ c. chopped peeled Granny Smith apple    
3 ½ c. chopped peeled Bartlett pear                              
½ c. chopped pitted dates or golden raisins         
¼ c. molasses  
¾ tsp. cinnamon
½ tsp. ginger
1/8 tsp. nutmeg        
1/8 tsp. cloves                                                 

Combine apples and rest of ingredients; toss well. Spoon into 8” baking dish. Sprinkle with topping. Bake at 375° for 45 minutes. 9 servings.  

We LOVE this next one: 

Pear-rhubarb cobbler
Yield: 6 Servings
10 oz. frozen rhubarb
3 ripe pears
2 tbs. water
¼ c. sugar
2 tbs. cornstarch
¼ tsp. cinnamon
1 tbs. cinnamon red hots
1/8 tsp. salt
1 ½ tbs. butter
1 ¼ c. bisquick
1 tbs. sugar
2 tbs. butter, melted
½ c. milk
* Note: If rhubarb is unsweetened, increase sugar to 2/3 cup 

FILLING: Thaw package of rhubarb. Wash, peel, and core pears; cut into 1/2-inch cubes. Add to rhubarb along with water. Combine sugar, cornstarch, cinnamon, cinnamon candies (red hots), and salt. Add to fruit mixture. Pour into greased 8-inch square baking dish. Dot with butter. Cover and bake in hot oven (400° F) 10 minutes, or until bubbling.  

CRUST: Combine biscuit mix and sugar; add butter and milk. Mix with a fork. Drop by spoonfuls on hot fruit mixture. Sprinkle additional sugar on top. Continue baking until biscuit is done, 15 to 20 minutes. 

Another dessert that is delicious and can be made closer to Thanksgiving when cranberries are in the store: 

Cranberry pear crisp (Martha Stewart)
4 to 6 firm pears, peeled and cut into 3/4-inch pieces (6 cups)
1 tablespoon fresh lemon juice
1 ½ cups cranberries
1/3 cup plus 1/4 cup sugar
½ cup flour
½ cup (1 stick) chilled butter
¼ cup light-brown sugar
¼ teaspoon cinnamon
1 cup rolled oats
Pinch of salt
Vanilla ice cream (optional)

Preheat oven to 400° degrees. In a large bowl, toss pears with lemon juice. Add cranberries and 1/3 cup sugar; toss well.

Transfer to six 8-ounce ramekins (or a 3-quart baking dish). Sprinkle with topping (see below); bake until fruit is tender and topping is golden, about 25 minutes. Let cool at least 30 minutes before serving with vanilla ice cream, if desired.

To make the Oatmeal Crisp Topping: Pulse flour with butter in a food processor until pea-size clumps form. Add remaining granulated sugar and the light-brown sugar, cinnamon, oats, and salt; pulse until large, moist clumps form, about 10 times.

And if you STILL have pears left:
PEAR BUTTER
4 to 5 lbs. chopped pears – don’t peel or core them but remove any bruised or damaged parts
2 tbs. chopped fresh ginger (I didn’t have any, so I added ground ginger with the cardamom and nutmeg)
1 c. water
1 c. fresh lemon juice
3-4 c. sugar and/or honey (I used half sugar and half honey)
½ tsp. ground cardamom
½ tsp. nutmeg
1 tsp. lemon zest


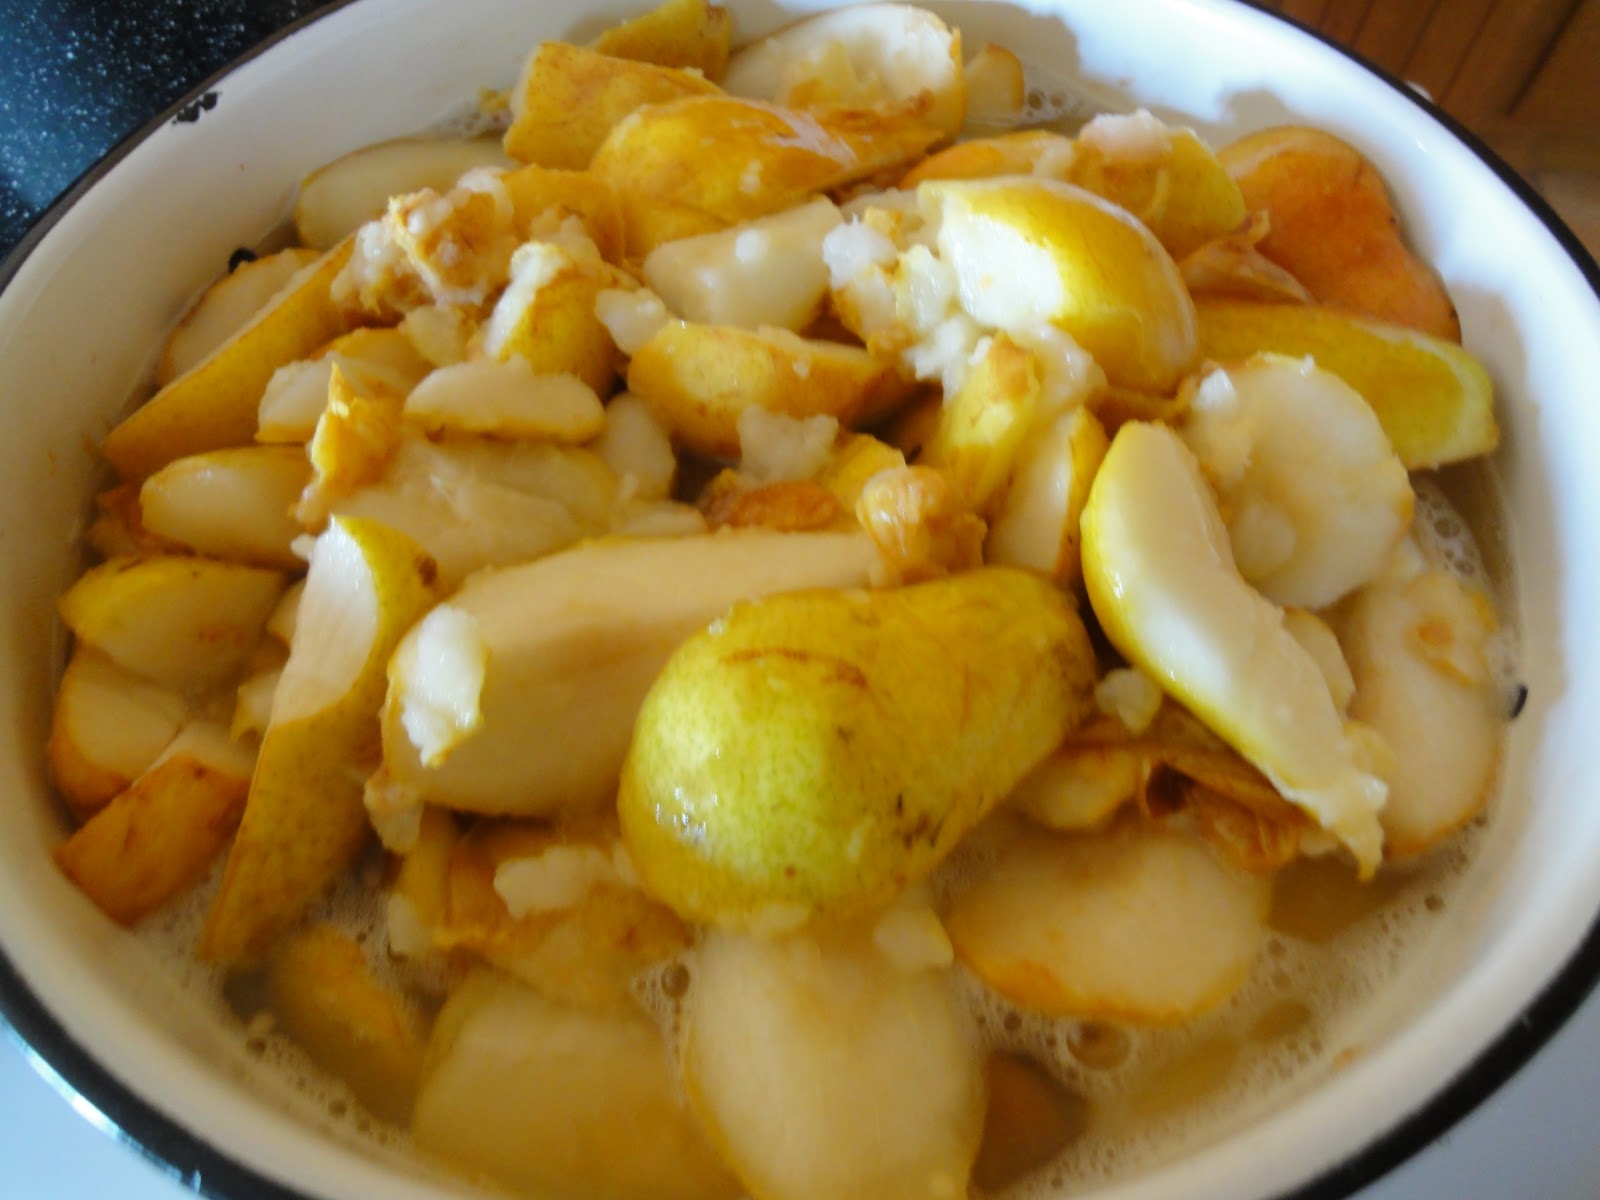
Put the pears, fresh ginger (if you have it), water and lemon juice in a large pot. Bring to a boil, reduce to simmer, cover, and cook till pears are very soft. This takes about 30 or 40 minutes. Remove from heat.


 Ladle everything into a chinoise or food mill. I didn’t have one, so I ladled it into a sturdy colander over another pan. Force the mixture through the holes and discard remaining solids (seeds, stems, etc.). This takes awhile, but it’s worth it!

Measure the resulting puree, and pour into a large, thick bottomed pan. For every cup of pear puree, add 1/3 c. sugar or honey. Stir, and add the spices and lemon zest. Taste and adjust seasonings if necessary.


Cook over medium heat, stirring often so it doesn’t stick to the bottom of the pan. Cook till mixture is quite thick, and a small bit placed on a chilled plate is not runny. This can take anywhere from 45 minutes to 2 hours, depending on the batch and if you used honey. As it nears the end of cooking, watch for the plops (I can think of no other word to describe them) as the hot puree plops up from the bottom. They can burn you! Not that I’d know anything about that…

While the mixture is cooking, sterilize the jars and lids. You can do this in the dishwasher or in a boiling water bath for 10 minutes.
When the pear butter is ready and your kitchen smells close to heaven, pour into hot, sterilized jars and seal, allowing for a ¼” head space at the top. Store in the refrigerator, give to your friends, or seal them in a boiling water bath for 10 minutes. Then you can give them to friends. Or have your friends bring over some delicious bread and have pear butter and toast. Wow!
 
When I made my pear butter this year, the cable TV tech guy was here, As soon as he came in the door, he said, "Wow, that smells so good!" Then he proceeds to start getting the cable hooked up. When he's nearly done, he comes back in the kitchen and asks, "WHAT is that smell? It just smells so good." "Pear butter,” I tell him. "Pear butter,” he sighs reverently and just stands in the kitchen. After awhile, he must have remembered he had other jobs to get to, and he wandered out of the house.

That’s how your kitchen will smell too and the neighbors will love you.


Friday, September 23, 2011

Peaches


I heart peaches. Big, red-gold, the color of a late summer sunset, baseball-sized, drip-down-your-chin-and-on-to-your-shirt, sweet peaches. We can’t grow them in Cheyenne, so we don’t need to talk about planting them. I’ll just go straight to some of the many, many things you can do with fresh peaches.

Where do we get them? Utah. We’ve eaten peaches from all over the US of A, and nothing, nothing beats a Utah peach. When we lived in Maryland, people raved about their peaches. Bless their hearts, they meant well. But their peaches were a pale shadow of a Utah peach. And I know people here who think Colorado peaches are the real deal. I regret to say that they are not. I don’t know why, anymore than I know why God blessed the Beehive State to be the center of the universe for peaches. I just know that Utah peaches are the sweetest and juiciest of all the peaches.

So after we’ve eaten our fill of fresh peaches, we do several things with them. I freeze them for winter to use in our morning protein shakes. Just wash them, slice them and place them on a cookie sheet. Put them in the freezer for a few hours, then take them off the cookie sheet and put them in a Ziploc freezer bag. This method keeps them from clumping together in the freezer bag. Then, in the middle of winter, when the wind is howling and the snow is blowing around, I can have a little bit of sunshine in my breakfast smoothie.

We grill them. Slice them in half, remove the pit, and put them on a piece of foil on the grill. Serve with steaks and grilled zucchini. Or slice them in half, remove the pit, and put them on a piece of foil, sprinkle with brown sugar and a bit of cinnamon. Wrap the foil up and put them on the grill for about 15 minutes. Serve with crème fraiche or mascarpone cheese.

 There is always peach pie:


PEACH PIE
2/3 cup plus 2 teaspoons sugar
1 tsp. vanilla
3 tablespoons unbleached all purpose flour
1 teaspoon (scant) ground cardamom
Cinnamon, about a teaspoon or to taste
Nutmeg, about ½ a teaspoon or to taste
3 3/4 pounds firm but ripe unpeeled (yes! unpeeled!) peaches, halved, pitted, each half cut into 4 slices (about 10 cups)
Pie crust for a 2-crust pie


You can make this in a pie plate, but I make it in a deep dish pan so I can eat more peaches than crust, and I don’t like a bottom crust because they can get soggy with a fruit pie. Slice the peaches into the pan and pile them a bit higher than the pan (they’ll cook down). Drizzle on the vanilla. Mix the flour, cardamom, cinnamon and nutmeg with the sugar. Sprinkle over the peaches.

Roll out the pie crust and put over the peaches. Cut slits in the crust.

Bake at 400° for 15 minutes, turn down the heat to 350° for another 20-30 minutes until the crust is golden brown. You can also brush the crust with milk and sprinkle with sugar before you bake it, but I don’t like to take away from the taste of the peaches.


I make peach salsa (see the salsa blog) – it’s another wonderful taste of summer. And peach cobbler. And peach shortcake, peach muffins, peach ice cream, and:


SPICED PEACH JAM (Food.com)
1 tsp. cinnamon
3 tbs. lemon juice
½ tsp. cardamom
½ tsp. nutmeg
3 c. sugar (I used 1 ½ c. sugar and 1 ½ c. honey)
2 ½ lbs. peaches, peeled and chopped (about 6 cups)


To peel peaches, drop the peaches in a pot of boiling water. Leave them for a minute or two, remove from the hot water, and drop them in ice cold water. The skins should slip off.


Place all ingredients in a heavy large pot; stir to combine. Bring to a rolling boil over medium heat. Simmer, stirring occasionally for 15 minutes. Mash the peaches with a potato masher. Keep simmering, stirring frequently till slightly thickened. To test, put a spoonful on a small chilled plate. When the jam is set, it will not run on the plate. If you use honey, it will take longer to set. Keep cooking till the jam sets, testing every few minutes and stirring frequently.

In the meantime, sterilize some jelly jars and lids. When the jam is set, pour into sterilized jars, put on the sterilized lids. The jars can be refrigerated for up to 6 months, or you can process them in a boiling water bath for 5 minutes.


Also, in the meantime, get some good bread, and make toast. When the jam is done, slather as much as you can fit on the toast. Savor every bite. And have lots and lots of peaches at the end of summer.