Wednesday, October 12, 2011

Pumpkins and Squash


One of the last things we harvest every year is the pumpkins and winter squash. They spend the summer out in the Three Sisters Garden (more on that at another time) with the dry beans and corn.


Much of that time, they’re hidden. But in late September or early October, with the corn harvested and the first frost shriveling their leaves, they shine like big gold nuggets.


We harvested the pumpkins and winter squash right before we went elk hunting.


It’s like hunting for Easter eggs – we’re always surprised with the bounty we find, and we look forward to it every year. We got about 50 pumpkins and nearly that many squash.


We grew four kinds of squash this year: Buttercup, Butternut:


Acorn:

and Kabocha:

The butternut were non-starters – we only got one little butternut – but they’ve done better in the past. Buttercup do well and are lovely to roast in the oven. The acorn did ok as far as number, but did not get really big. And the kabocha are a fabulous shade of orange. They have a texture reminiscent of buttercup squash – a little waxy, and wonderful roasted.

We grew three kinds of pumpkin: Jack-o’lantern, New England pie, and Baby Bear. All did great! I’ve grown the Rouge Vif D’Etampes in the past – they are beautiful, but I don’t like the texture as well. The Kobacha squash are just as pretty and have a better texture.

I pick varieties that will mature early for both squash and pumpkin. I plant them directly into the garden. I’ve found that to start them early, then transplant, just sets them back too far. They do just fine started in the garden. We plant them with the corn and dried beans – they provide the shade and weed suppression in that garden.

The pumpkin garden is away from everything else – pumpkin vines like to travel! They can grow up to 15 ft. long so they need lots of room.

As the fall progresses, we have squash by itself, or pumpkin alone, but our favorite way is to cook a couple squash and a couple pumpkins and puree them all together.

Cut them in half. You can either scoop out the seeds now if you want roasted pumpkin seeds later, or you can just leave them in.


Lay them cut side down on a roasting pan. Fill the pan with about an inch of water. Bake at 350 degrees for 45 minutes to an hour, depending on the size or type of squash or pumpkin. When they come out of the oven, let them cool a bit.


Scoop out the seeds.

I usually put everything in a food processor first and puree.


Some are easier to scoop out than others.


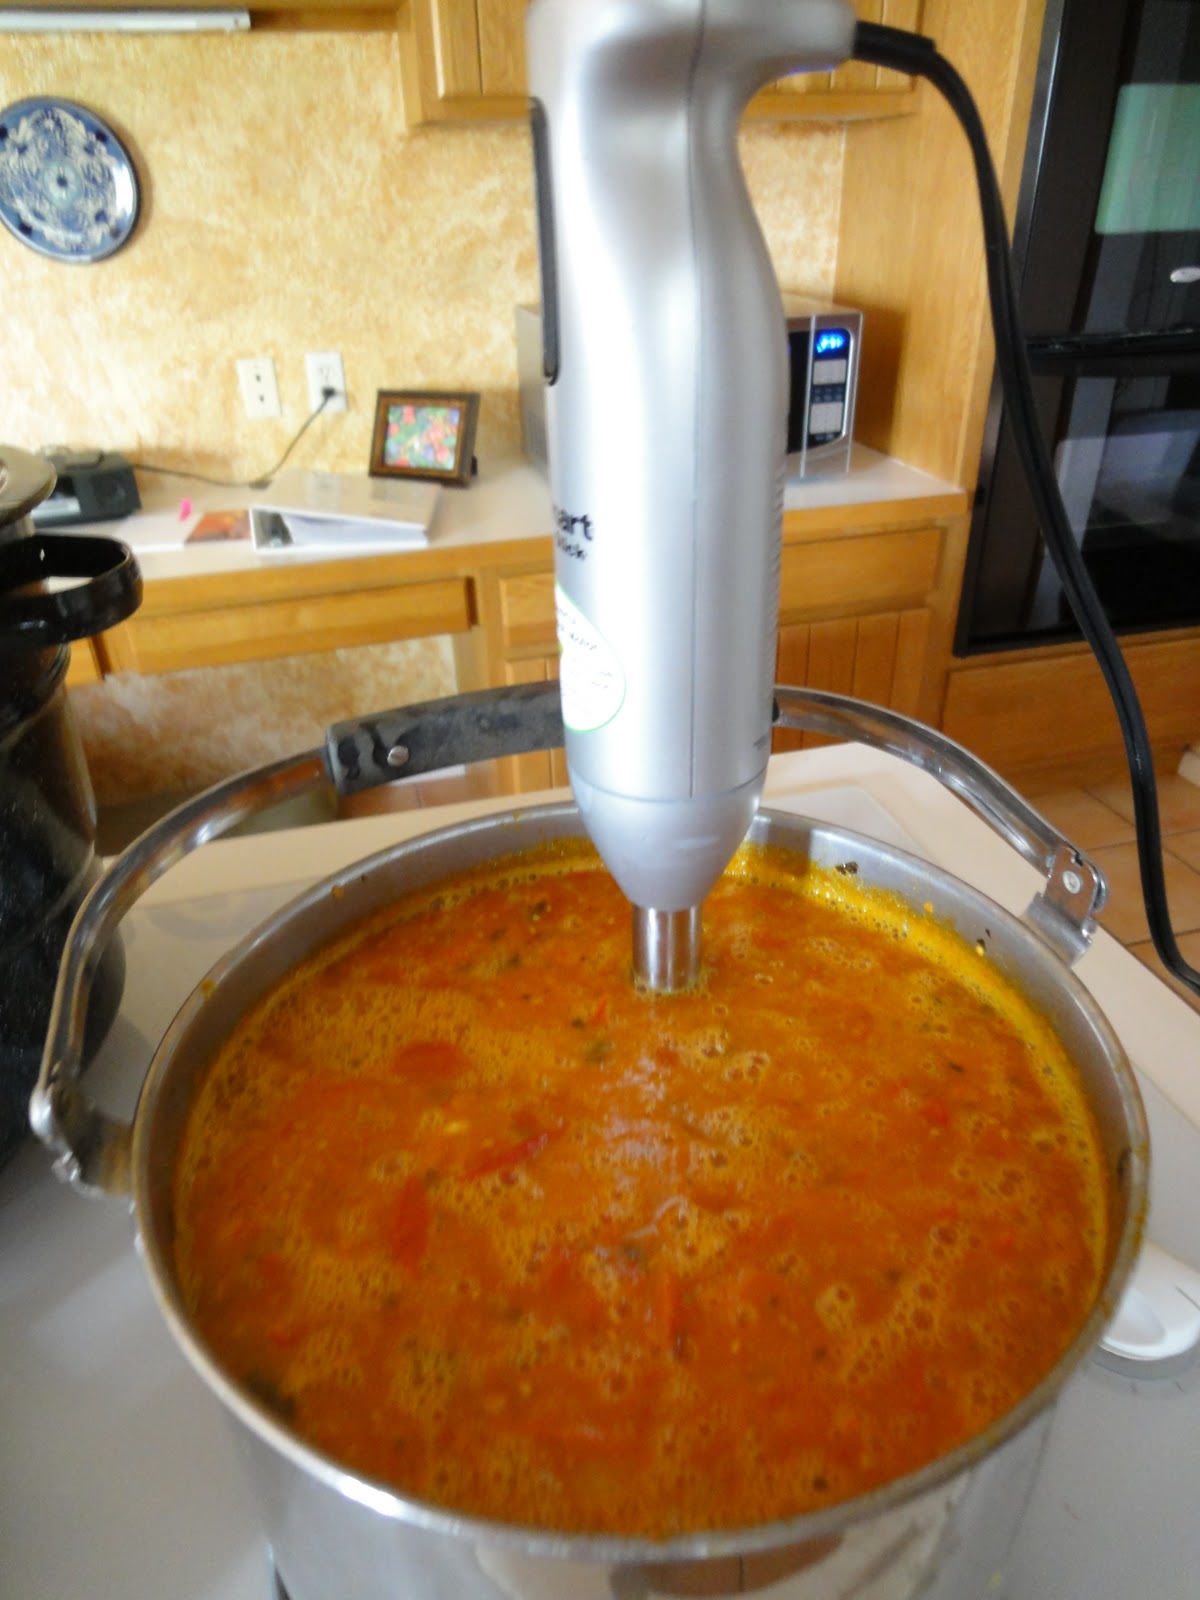
When I'm done pureeing (is that a word?) in the food processor, I pour everything into a large pot. I cook it over low heat till it gets to the consistency I want. Be careful at this stage! It plops as it cooks and can be extremely hot. So I keep a lid part way on the pan and stir carefully. Towards the end, I get out that wonderful little immersion blender and blend for a few minutes.


I package the mixture in quart freezer bags but only put in 2 cups in each bag. Most recipes call for a can or 2 cups of pumpkin. When you freeze them, sort of mash them flat and they will stack better in your freezer.


This makes a smooth, rich mixture that can be used in many recipes. The texture is different from a can of pumpkin - it's not as thick, so you might need to adjust cooking times or the liquid you use.

Yesterday, I cooked down about 1/5 of our harvest and got about 20 cups of pumpkin/squash puree. That’s a lot of pumpkin pies. Or bread. Or cookies. Or soup. Or casserole. Or…

You might think pumpkins are great for Halloween or for pumpkin pies at Thanksgiving. However, the main reason to grow pumpkins is this little recipe right here. Now, this might be hot chocolate, but it’s healthy. It’s got squash, right? Fiber? And milk. And I usually double this because you can’t get too much of a good thing. That way, I’ve got half a pitcher left for the next day.

MAYAN HOT CHOCOLATE
1 small squash or pumpkin or 2/3 c. pureed squash or pumpkin or a mixture
2 ½ c. milk (whole, 2%, 1% or fat free), divided
6 oz. or ¾ c. semi-sweet chocolate chips
½ tsp. cinnamon
Pinch of nutmeg
Pinch of cardamom
Or go hot and add pinch of cayenne 


If you are doing this from scratch: oven 375°. Cut squash/pumpkin in half. You can take out the seeds now if you want to roast them. Or place halves, cut sides down in a roasting pan. Fill with water up to 1 inch. Bake 30 minutes or till tender. Scoop out and discard seeds. Scoop out squash pulp and puree in food processor. Measure out 2/3 cup (if you have leftovers, put them in your pancake batter next time you make pancakes – add some pumpkin pie spice too. Or make pumpkin shake. Or put in it your morning smoothie. Or just make more hot chocolate!)

Puree squash in blender with ½ c. milk. Heat the chocolate chips in the microwave till melted, or in a pan on the stove with the rest of the milk, stirring constantly.


Pour milk, melted chocolate and any spice combination you like into the blender with the squash. Blend till frothy.


Stir. Taste. Adjust the seasoning. I use about ¼ tsp. cayenne, but I like things on the hot/spicy side. Pour it in a mug. Your favorite mug.


You may need to heat it just a bit more in the microwave (Warning: for some reason, this hot chocolate likes to cook over in the microwave when you reheat it. To avoid losing half of the cup of hot chocolate and having a chocolate-filled microwave, watch it carefully. When it starts to boil up, stop the microwave – it doesn’t take long).  Add a homemade marshmallow (more on that later). Get your favorite book. Sit in your favorite chair. Breathe deeply and enjoy.


We also add pumpkin/squash puree to our morning smoothies – lots of fiber and good things for you. Or you can make this shake which is one of the most wonderful fall drinks ever:

(The comments are by the author of that recipe)
Pumpkin Pie Milkshake
Recipe by Our Best Bites
1/3 c. pumpkin, canned or homemade
1/4 - 1/2 C milk
¼ tsp. vanilla
½  tsp.cinnamon
1/16 tsp. cloves (just use a 1/8 tsp. measure and fill it half way, or do a pinch)
1/16 tsp. nutmeg
2 tbs. brown sugar
2 c. vanilla ice cream
a few graham crackers

Pop it all in a blender. Start with 1/4 C milk and then slowly add more if needed to make the blender process it all. I used somewhere between 1/4-1/2 C.

A note about blenders: Here's the problem with making thick, diner style milkshakes at home: A lot of times you have to add so much milk to the thing to get the blender to process that it turns into a milk-slushie instead. Or you have to blend and plunge, blend and plunge, etc. You know the drill, right? So if you have any trouble with your blender, I would recommend blending everything but the ice cream first and then mashing it into the ice cream by hand (well, with a hand. Holding a fork or spoon :) If your scooped ice cream sits out at room temp while you measure the other things and get them all ready, then by the time you mash it all together it should be a good consistency.

Sprinkle with crushed graham cracker crumbs before serving.

FYI: I used a 2-lb. pumpkin and it yielded 1 3/4 C puree. And if you are trying to gauge- One 15 oz. can equals 1 3/4 cups pumpkin puree and one 29 oz. can (the biggie) equals 3 1/2 cups pumpkin puree. So my 2lb pumpkin was almost exactly equal to one can.

Now when you cook these pumpkins, you have pumpkin seeds. You can either pitch them or make:

Toasted Pumpkin Seeds (also from Our Best Bites)
½ c. Pumpkin seeds, clean and dry
½ tbs. butter
¼ tsp. olive oil
¼ tsp. celery salt
¼  tsp. onion
1/8 tsp. garlic
1/8 tsp. paprika
pinch cayenne
Kosher salt
By the time I got my pumpkin mess cleaned up and the seeds cleaned and ready to cook, my pumpkin was almost done cooking. So I took it out and turned the oven up to cook the seeds. However, if you wanted to, you could cook your seeds at 350° right along with your pumpkin and it would just take a little longer.
Let's get on with it...


Rinse seeds until clean. Boil in salt water 10 minutes (some people don't do this step, but I think it helps when you are eating them). Preheat oven to 400°. Melt butter and add olive oil to it. Place seeds in a small bowl and toss with butter and seasonings (except kosher salt).

Lay in a single layer on a foil-lined baking sheet. (You can, of course, use any seasoning mix you want--be creative!)


Bake for 15-20 minutes or until golden brown.
Give one a try and sprinkle on kosher salt if needed.

Or if you make pancakes or waffles,


add some pumpkin for the liquid, and spread with:

PUMPKIN BUTTER
½ c. softened butter
½ c. pureed pumpkin
¼ c. powdered sugar
½ tsp. pumpkin pie spice
Beat together. Chill at least 3 hours. Let soften 20 minutes before serving. Makes about 1 cup.
 
We'll do the things you can bake in the next blog. But this will get you started now that all this fall bounty is here.


Sunday, October 9, 2011

Red Currant Jelly


I know I’ve already done jelly, but we had an unexpected windfall, as it were, from the elk hunting trip at the cabin.

Walt and the guys have a special elk hunting spot up on one of the peaks near the cabin. It’s at about 10,000 ft. elevation, and it’s breathtakingly beautiful. One day this year, they took a mid-day break and Walt saw some gorgeous red currants. The currants were huge this year, and the bushes were loaded with them, even after being repeatedly frosted. So he picked about half a gallon of them.


When we got back to Cheyenne, I made a half batch of jelly. Delicious!
 
RED CURRANT JELLY (see the jelly blog for more information on making jelly)
About 8 cups of currants – wash and put these in a large pot, add a cup or so of water. Bring to a boil, simmer about 15 minutes. Mash with a potato masher. Strain in a strainer, then cheesecloth, then a clean flour sack towel.
You’ll need 5 cups of juice
In a large pot:
5 c. currant juice
1 package of pectin
Stir. Bring to a rolling boil.
Add 7 c. sugar – stir well


Stir occasionally and bring to a rolling boil (one that can’t be stirred down). Boil hard 1 minute.
Remove from heat and skim.

Pour into sterile jelly jars. Seal with sterile lids. Process in boiling water bath for 5-10 minutes - this depends on the elevation where you live. About 7 or 8 half-pint jelly jars.

Such a pretty color!

We have such great blessings all around us.

Saturday, October 8, 2011

Tomatoes - Part Two


I know this is going to sound weird, but the truth is that tomatoes are remarkably easy to grow – even at 6,000 feet elevation in Wyoming. Even with the wind. Even with the hail. I start them in the sun room in March along with the chilies, but you can buy tomatoes plants at a nursery. I like to start them myself because I can grow some heirloom varieties – big purple Cherokee, or Brandywine, or Black Krim, to name a few. I grow a few varieties that will ripen early and some that ripen late in the season. I grow cherry tomatoes – red, gold, or black (I didn’t like the black ones as well – they don’t produce as many as the red or especially the gold ones). Cherry tomatoes are amazingly prolific. They come on a few at a time –they are so sweet that they’re like growing candy in the garden – then you get an avalanche of cherry tomatoes until the first freeze.


I start the tomato seeds in peat pots and plant several in a pot. I thin them later. I’ve tried all sorts of different seed markers through the years and have yet to come up with a satisfactory way to mark each pot. The little plastic markers are great till I plant the tomatoes outside, then the writing disappears through the summer. They only help when I’m planting the tomatoes – I know which plants to plant together.

We have a lovely garden bed on the south side of the house. It’s probably a big factor in our success with tomatoes. It faces south, so it’s warm and it’s up against an exterior brick wall, which makes it warmer still. Walt built 6 different trellises out of PVC pipe  and construction wire – four of them are 8’ tall and two are 4’ tall. The tall trellises are on the ends – they are for the cherry tomatoes. The short ones are under a window – they are for the shorter varieties.


We compost this bed heavily and use drip irrigation because tomatoes like lots of water and lots of heat. They like being protected from the wind. They’re notoriously sensitive, but the truth is that if you give them half a chance, they actually do really well – even in our high altitude environment.

If you are limited for space and only have room for a planter – plant a tomato. Go to the nursery and buy a quick ripening variety. As it grows, stake it up and tie the plant to a stake. Plant some basil seeds around the rim of the planter. You’ll get enough tomatoes to enjoy fresh ones in late August with some fresh basil.

When the weather warms up around the first part of June, I plant the tomatoes – peat pot and all. That way, they don’t have too much transplant shock. I tie them up immediately on to the trellis as I plant them. Cheyenne has lots of wind in June and I want the tomatoes to put their energy into growing tomatoes, not trying to stay upright.

I keep them weeded, mulch with grass clippings to keep the weeds down and keep tying them up as the summer progresses. Some of the cherry tomatoes grow about 8’ tall and all the tomatoes need the support of being tied. We used to do tomato cages but the trellises work so much better, especially for the taller plants.
 
About mid-August, I prune. I cut off all the shoots and stems that have blossoms on them – not the main ones with tomatoes on them. There is not enough time by mid-August for those blossoms to make tomatoes and I want the plant’s energy to go to ripening tomatoes, not making more. By this time, we’re eating cherry tomatoes, but I still prune them where I can.


I pick the tomatoes as they ripen – at first a few, then enough to make  

Simple GARDEN Marinara Sauce
1/2 cup extra-virgin olive oil
1 large onion, diced
5 garlic cloves, minced
2-3 small or 1 large zucchini, rough chopped
2-3 rough chopped carrots
2 tbsp. each chopped fresh parsley and basil
1/2 teaspoon sea salt
1/2 teaspoon freshly ground black pepper
2 qts. fresh tomatoes, chopped
2 dried bay leaves

That's one of those big Cherokee purple tomatoes

Sauté the onions, carrot and garlic in olive oil until soft, about 7 minutes. Add the zucchini and sauté for another 1-2 minutes. Add bay leaves. Add the tomato, salt pepper, and the parsley and basil.


Let simmer for 1 - 1 1/2 hours, or longer depending on the variety of your tomatoes.


When finished simmering, remove bay leaves, and puree until smooth.

I love my immersion blender for just this reason!

Then I put them in 1 qt. Ziploc freezer bags; but I just freeze 2 cups in each bag.

Or this makes a richer tasting variation:
Roasted Marinara Sauce
Use above proportions. Cut all vegetables in 1” pieces. Slice garlic. Place all on baking sheet. Drizzle with olive oil. Sprinkle with salt and pepper. Roast at 300°, stirring occasionally, about an hour or more or till very dark. Put in pot. Simmer till thick. Puree.

Or make salsa (see the salsa blog).


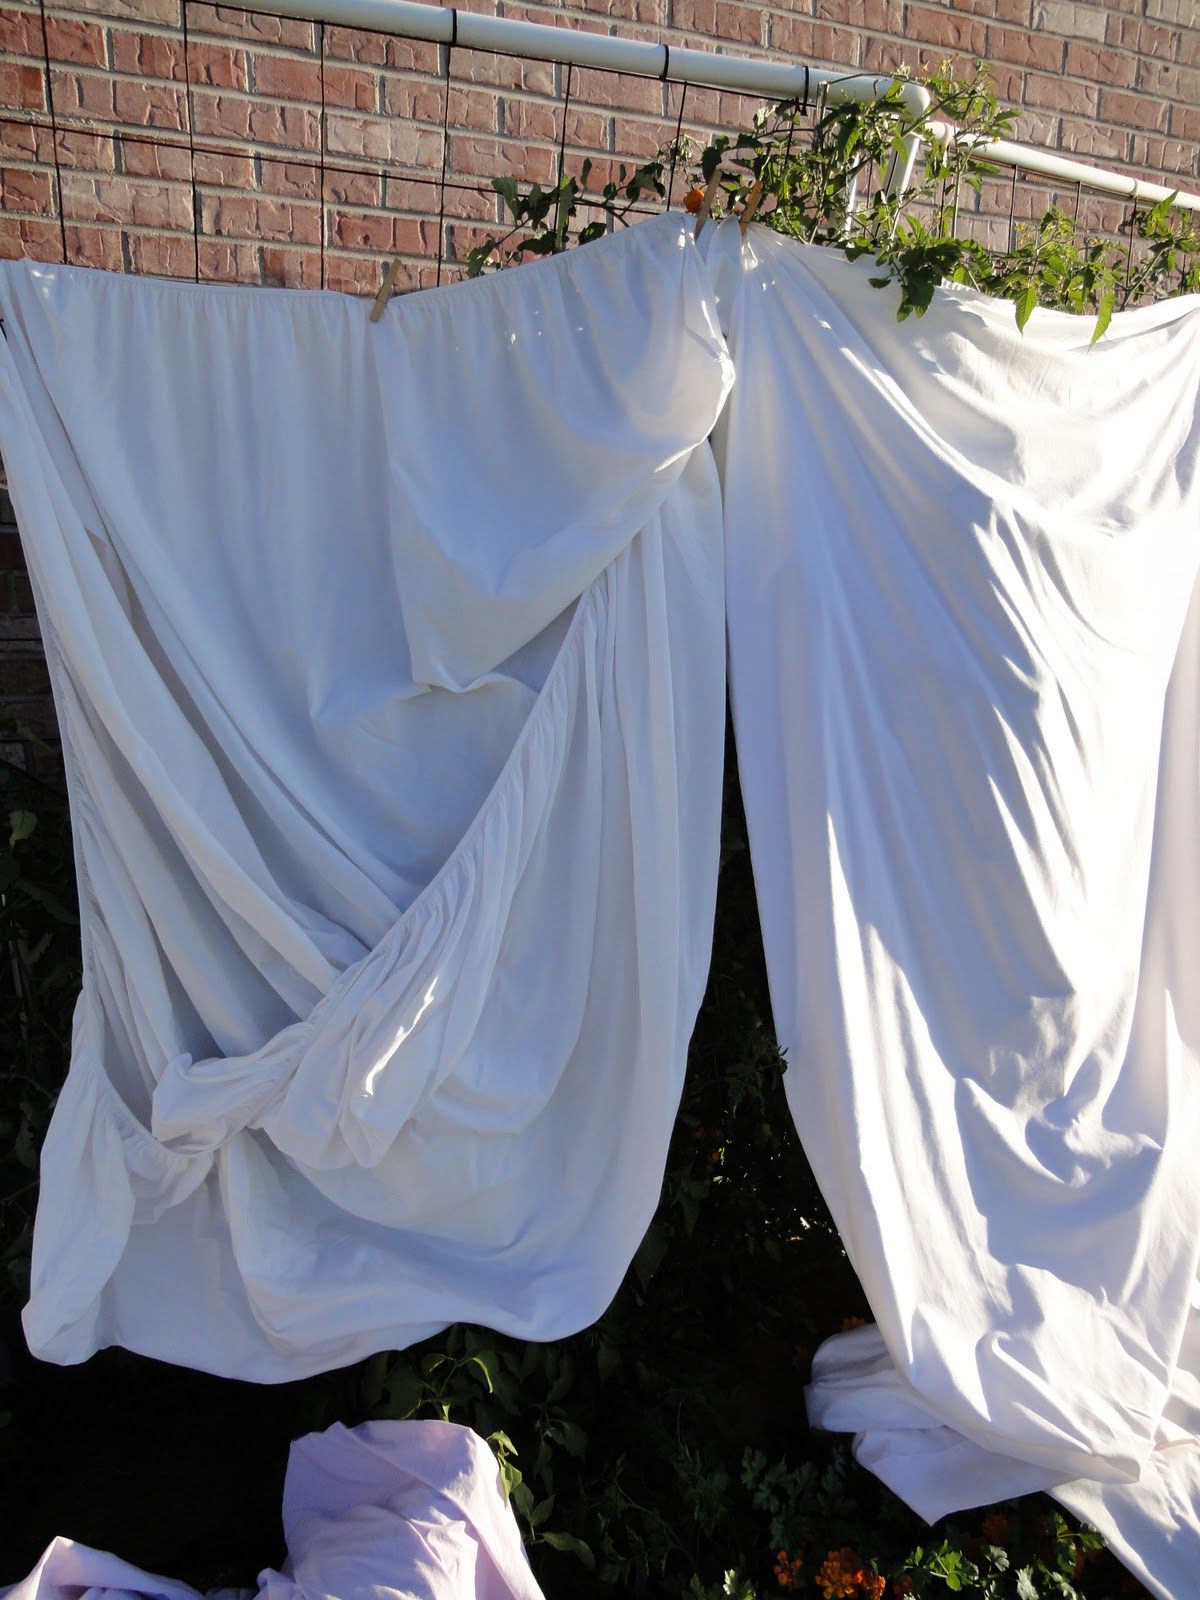
Although the weather pattern in Cheyenne has changed, we still get a threat of frost in mid-to late-September. If it’s just a threat and not a major weather change, we cover the trellises with sheets for the night. It looks like a visitation of ghosts, but protects the tomatoes (and chilies). Then we have another few weeks of summer-like weather to ripen the last of the tomatoes.


Last year, we picked about 150 pounds of tomatoes; almost that much this year. After making marinara and salsa, I freeze the rest. This is the easiest way to do tomatoes – much easier than bottling them. Just wash them well, cut off the stem end and any blemishes, and put them in freezer bags. That’s it.


Then when you take them out of the freezer to use in soups, stews, spaghetti sauce, or what have you, let them sit on the counter for 30 or 60 minutes. Run them under some warm water and the skins slip right off. While they are still partly frozen, I chop them up to add them to whatever I’m cooking. A quart Ziploc bag equals about a can of tomatoes.

Here are some other family favorites:
SPAGHETTI SAUCE
1 chopped onion    
1 chopped green pepper       
1 lb. ground meat        
½ lb. sliced mushrooms      
3 cloves garlic, minced      
1 (6 oz.) can tomato paste
1 can tomatoes, or bag of frozen tomatoes
1 tsp. beef bouillon
1 c. water (approx.)
½  tsp. rosemary
1 ½ tsp. basil   
Dash of cinnamon
Brown meat till crumbly, add onion and green pepper when meat is nearly done. Drain meat if necessary. Add all remaining ingredients except herbs and cinnamon. Bring to boil, simmer till thick (about 1 hour), add herbs and cinnamon. Simmer 20-30 minutes more. Stir occasionally.

Heirloom Tomato Soufflé with Mozzarella
2 tbs. finely grated parmesan
3 tbs. butter
3 tbs. flour
1 ¾ c. milk, warmed
½ tsp. sea salt
¼ tsp. freshly ground black pepper
Pinch of nutmeg
5 large eggs separated
1 tbs. pesto
2 c. chopped tomato
1 c. shredded mozzarella
Oven - 400°. Spray an 8 c. soufflé dish with Pam. Dust bottom and sides with parmesan.
Heat butter in large saucepan, stir in flour. Cook 3 minutes over medium heat stirring occasionally, till light beige in color. Whisk in warm milk. As mixture bubbles, stir in salt, pepper, and nutmeg. Remove from heat and cool slightly.

In small bowl, whisk together eggs and pesto. Stir into butter mixture with tomatoes and mozzarella. In separate bowl, beat egg whites with pinch of salt till stiff. Fold ¼ of whites into batter and mix gently but thoroughly to lighten the mixture. Fold in remaining whites very gently.

Pour into prepared soufflé dish. Lower temperature of oven to 375°, bake 35 minutes. Center of soufflé should be very slightly wobbly. Remove from oven, serve immediately. Center will still be molten. Serves 3-4

Savory Roasted Tomato Crumble
3 lbs. plum or Roma tomatoes, quartered
3 cloves garlic, thinly sliced
3 sprigs fresh thyme
2 sprigs fresh rosemary
Sea salt and freshly ground black pepper, to taste
2 tbs. olive oil
Oven 300°. Spray roasting pan with cooking spray. Place tomatoes in pan, scatter garlic and herbs over. Season with salt and pepper, drizzle with oil. Cover and bake 1 ½ hours. Remove from oven; discard herbs, set aside to cool. Raise oven to 375°.

Topping:
¾ c. flour
½ c. butter
½ c. fresh bread crumbs
½ c. grated parmesan
¼ c. pine nuts
1 c. shredded mozzarella
In food processor, place flour, bread crumbs and parmesan. Add butter and pulse till pea-size bits. Add pine nuts and pulse for 2 seconds.

Spray a 9”x9” or 8x10” pan with cooking spray. Place tomato mixture in pan. Cover with crumb topping. Bake 45 minutes till golden brown. Remove from oven, turn on broiler, top crumble with mozzarella, broil 3-5 minutes. Cool slightly, and serve hot. Serves 4


I made some pesto the other day (I'll write about that later), spread the pesto on some crusty bread. Then I layered on some tomatoes and mozzarella and broiled it till the mozzarella melted.
 
 
Or you can spread the pesto on the bread and smother it in the marinara sauce.

You deserve this after doing all that cooking

 
 Tomatoes form the basis for countless delicious recipes, and the taste of homegrown tomatoes makes all the difference.


Tomatoes


What’s the song?

There ain't nothing in the world that I like better
than bacon and lettuce and homegrown tomatoes.
Up in the morning, out in the garden, get you a ripe one, don't pick a hard one.
Plant 'em in the spring, eat 'em in the summer. All winter without 'em is a culinary bummer.
I forget all about the sweating and the digging every time I go out and pick me a big one.
Homegrown tomatoes, homegrown tomatoes, what would life be without homegrown tomatoes?
Only two things that money can't buy and that's true love and homegrown tomatoes.


 (By Guy Clark - not a big hit, but full of wisdom)

Store bought tomatoes are pale imitations of the real thing. Store bought tomatoes are produced (not grown) to be picked green, uniform in size, boxed and shipped, turning red in the process, and kept for weeks in a grocery store without bruising. When you cut them, they are pale or white inside. They taste bland and mushy. They taste like nothing.
 
A home-grown tomato starts as a little yellow flower pollinated by bees. It becomes a small green tomato in July. Through July and most of August, it spends its energy in growing larger – some varieties are bigger than a baseball – while still green. Then, towards the end of August, it starts turning a pale pink or pale orange.


Be patient. One day in early September you will go outside and there will be a big, red, tempting tomato. When you pick it, it will be heavy in your hands – juicy and plump.
 
Take it inside and slice it. It is red throughout and the juice will run all over the cutting board.


What to do with it? That depends on the variety. With a big beefsteak type tomato, you can lightly salt it, throw on some basil leaves and you have one of the most wonderful salads in the world.

With some smaller eating tomatoes, you can layer them with basil and fresh mozzarella, drizzle with balsamic vinegar and have a complete meal, especially if you have a fresh baguette or sourdough bread.


With cooking tomatoes, like Roma, roast them and put them on homemade pizza, or make them into tomato sauce for spaghetti.

ROASTED TOMATOES
Roma tomatoes       
Pasta sprinkle (oregano, basil, etc.)
Olive oil
Garlic salt
Freshly ground pepper 

Oven 325˚. Pour olive oil on baking sheet. Cut tomatoes in halves or thirds. Dip both sides in oil. Sprinkle with salt, pepper, herbs. Bake for 2 hours till soft and shriveled.
 
ROASTED TOMATO SAUCE
4 garlic cloves, unpeeled     
2 small red onions, unpeeled, cut in half             
3 lbs. (about 6) medium tomatoes, cored           
2 tbs. balsamic vinegar                  
1 tbs. olive oil                 
1 tbs. tomato paste
1 tsp. sugar
1 tsp. fresh oregano
½ tsp. salt
1/4 tsp. crushed red pepper
1/4 tsp. black pepper

Preheat broiler. Place garlic and onions, skin sides up, on jelly roll pan. Place pan on lower oven rack. Broil 30 minutes. Add tomatoes to pan, core sides down. Cook additional 30 minutes till blackened. Cool 5 minutes. Remove skins from garlic, onion, and tomatoes; discard skins. Place all in food processor or blender; add rest of ingredients, process till smooth. (Can be kept in refrigerator for 1 week, in freezer 1 month). 8 servings over pasta.

One of our favorites is tagliarini – it’s simple, easy and delicious: 


TAGLIARINI
CHICKEN TAG2 large fresh sliced, or a few frozen tomatoes, skinned, or a large can of tomatoes
4 garlic cloves, minced       
1/3 c. olive oil 
¼ tsp. freshly ground black pepper       
¼ c. water (if you use fresh tomatoes)
1 tsp. basil
Salt to taste


In heavy skillet, sauté garlic in oil till garlic just starts to turn golden. Do not let it brown.

Add rest of ingredients, cover, and simmer 10 minutes.


Serve over pasta with parmesan cheese.


Another variation is to sauté 1 tsp. red pepper flakes with the garlic, then add a red bell pepper, chopped 

Or this variation with chicken: 

CHICKEN TAGLIARINI
CHICKEN TAG2 large fresh sliced, or a few frozen tomatoes, skinned, or a large can of tomatoes
4 garlic cloves, minced  
1/3 c. olive oil 
2 chicken breasts, cubed
1 onion, sliced
1 green pepper, sliced     
¼ tsp. freshly ground black pepper      
¼ c. water (if use fresh tomatoes)
1 tsp. basil
Salt to taste                 

In heavy skillet, sauté garlic in oil till garlic just starts to turn golden. Do not let it brown. Remove garlic from oil, add chicken to pan. Brown chicken 4 minutes. Turn, then add onion and pepper, brown chicken 4 minutes.  Add rest of ingredients, cover, and simmer 30 minutes. Serve over pasta with parmesan cheese.

There is so much about tomatoes, that I’ll continue this in part two.